
DRY-CON X® Installation
Shipping Container Vent Installation & Placement
DRY-CON X® intake and exhaust vents install on shipping container doors or walls without roof penetrations, fans, wiring or electricity. Proper placement depends on container size, prevailing wind direction, available mounting surfaces and whether the exhaust is mounted on a door or corrugated wall.
Where should vents be placed on a shipping container?
The intake and exhaust work as one system, using outside air currents to create a flow-through path that pulls moist air out and brings fresh air in. The right placement depends on these factors:
- Prevailing wind direction
- Find My Kit compares the long-term winter and summer wind direction near your ZIP code with the direction your container doors face.
- Door orientation
- Which way the doors face determines where the intake and exhaust sit relative to the wind.
- Container size
- 20 ft containers use Kit 1 or Kit 3. 40 ft and High Cube containers use Kit 2 or Kit 4.
- Door mounting
- Whether the exhaust can go on the container doors or needs a corrugated wall with an adapter plate.
- Obstructions
- Nearby buildings, trees, or other containers that block air movement at your site.
Kit configurations
Kit 1 (20 ft) and Kit 2 (40 ft or High Cube)
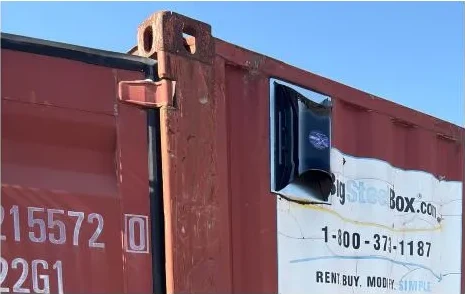
Exhaust vents mount on the container doors, no adapter plate needed. Intake vents mount on the back wall of the container.
Kit 3 (20 ft) and Kit 4 (40 ft or High Cube)
Exhaust vents mount on the back wall using the included back wall adapter plate. Intake vents mount on a side wall.
Find My Kit works through your ZIP code, container size and door direction and tells you which configuration fits your site.
How many vents does a shipping container need?
Each exhaust vent is paired with one intake vent.
| Container | Vents |
|---|---|
| 20 ft container | 1 intake + 1 exhaust |
| 40 ft container | 2 intakes + 2 exhausts |
| High Cube container | 2 intakes + 2 exhausts |
Can DRY-CON X vents be installed on container doors?
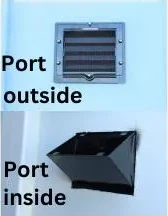
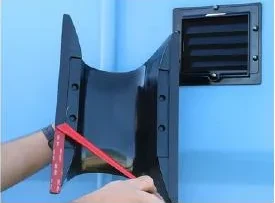
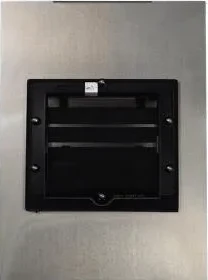
Yes. The door panels already provide the flat surface the exhaust vent needs. The DRY-CON X® exhaust is two parts: the port is installed first, then the cover. The port fits snugly in the center of the cover's pre-cut groove.
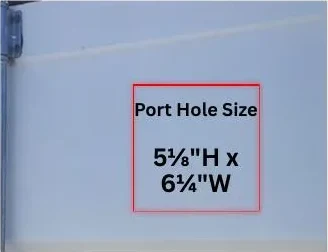
Exhaust port hole
5 1/8" H x 6 1/4" W
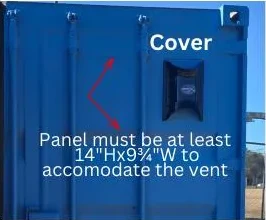
Minimum door panel size
14" H x 9 3/4" W
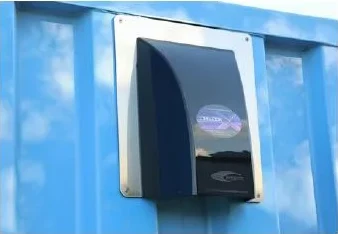
Intake vent installation
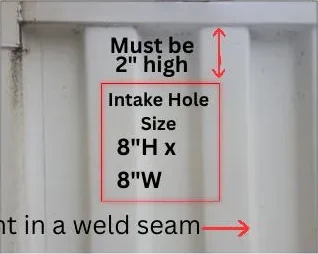
Intake hole
8" H x 8" W
- Position the opening 2" high, as shown in the diagram.
- Do not mount in a weld seam.
- Prepare the surface as described in the steps below before mounting.
When is an exhaust adapter plate required?
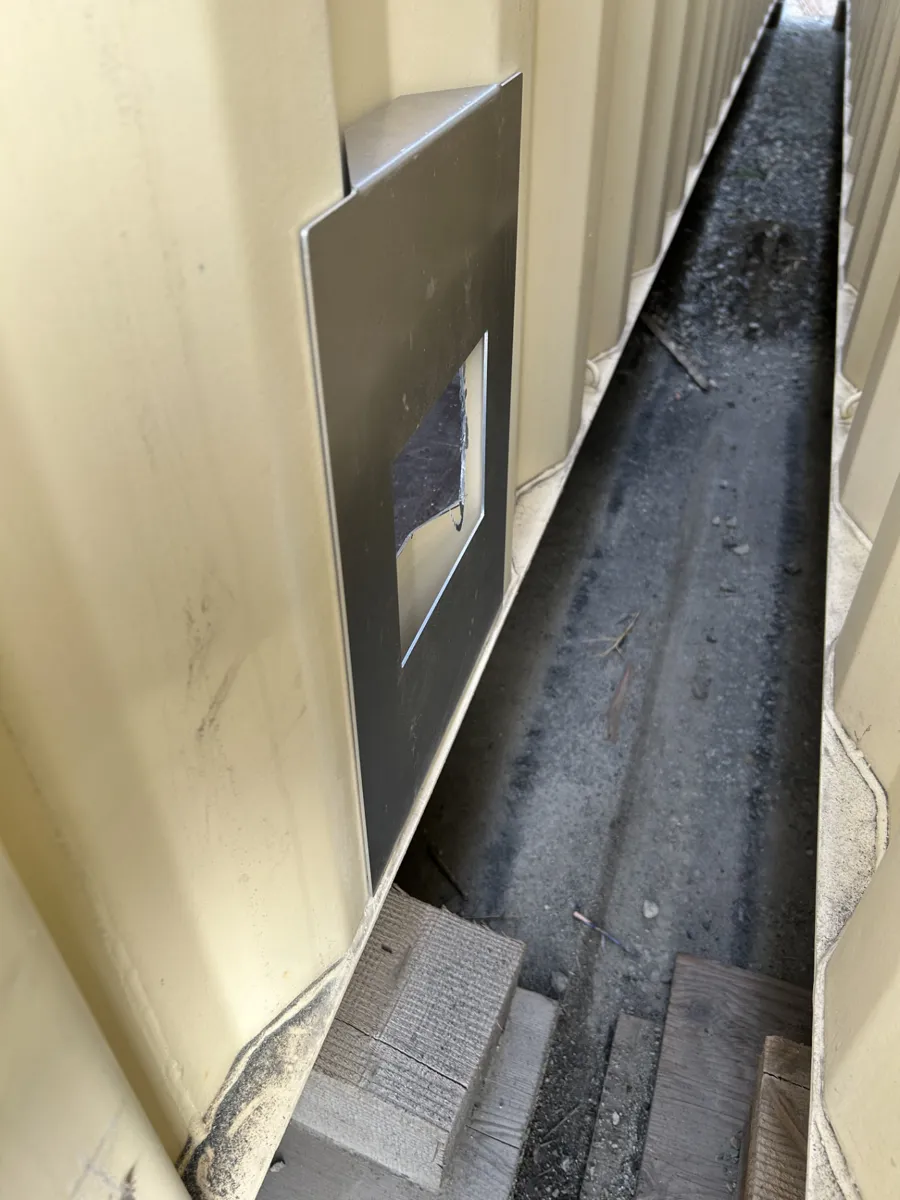
An exhaust adapter plate is required when mounting an exhaust vent on a corrugated side wall or back wall instead of on the container doors. The adapter plate creates the flat mounting surface needed for the exhaust assembly.
Can DRY-CON X® Exhaust vents be installed on container doors?
Yes. The door panels already provide the flat surface the exhaust vent needs.
The DRY-CON X® exhaust is two parts: the port is installed first, then the cover. The port fits snugly in the center of the cover's pre-cut groove.
Will the vent get damaged by the door?
Since the exhaust vent is typically installed on the container doors, some people worry that the swinging doors could hit and damage the vent over time.
The good news? It's not a problem. Our vents are made from highly durable polycarbonate, a material known for its strength, impact resistance, and long-lasting performance. This means the vent can handle the normal movement of container doors without being damaged.
Impact Resistant | UV Protected | Built to Last
And for added peace of mind, DRY-CON X® vents are backed by a 25-year warranty.
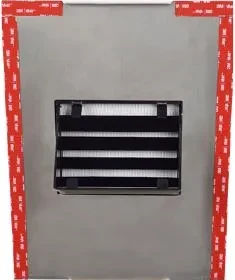
Adapter plate installation
- 01Determine where you will be mounting your exhaust port.
- 02Cut your exhaust port hole with dimensions of 5 1/8" H by 6 1/4" W. Clean up the area as described in the surface preparation steps.
- 03Peel the tape and install the exhaust port on the outside of the adapter plate.
- 04Peel the tape and install the adapter plate with the attached port on the wall. Your adapter plate will fit the wall corrugation listed on your order.
- 05Peel the tape and install the exhaust cover over the exhaust port. The exhaust port is designed to fit snugly in the center of the pre-cut groove of the exhaust cover.
Using the Vents for Fume Mitigation?
If the vents are being used for fume mitigation, the exhaust adapter plate needs to be inverted and placed at the bottom of the container.
Preparing the mounting surface and installing
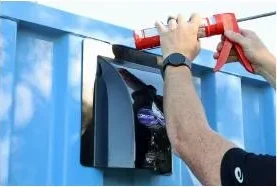
No tools, rivets, welds, screws or mechanical fasteners are needed after the openings are cut.
- 01After determining the vent locations, mark the exhaust port and intake openings using the dimensions below. Cut out the center vertically and horizontally.
- 02Cut the rectangular holes and clean off the filings.
- 03Prep the mounting surfaces with the abrasive pad provided or 180 grit sandpaper. Clean thoroughly and apply 50% water diluted rubbing alcohol (IPA).
- 04Remove the tape backing on the vents and press in place for about a minute to make sure initial adhesion is made. The cure is secure at 40% after 20 minutes. The 3M® tape takes about 24 hours to reach maximum bond.
- 05The commercial grade tape has outstanding adhesion and provides an excellent weather seal. An exterior sealant is recommended at the top of the intake and the top of the port.
Official DRY-CON X® Installation Instructions
The approved two-page document. Select a page to view it at full size.
Page 1 of 2
Page 2 of 2
Ready to choose your kit?
Find My Kit matches the configuration to your container and site. Already know what you need? Go straight to the shop.